Showing posts with label Intaglio. Show all posts

Thursday, August 12, 2021

Tetrapak Mark Making and Printing Tests


Tetrapak mark making tools test
I always have to make a book and take a photo. Even the funky tests. Single sheet binding, instructions from Keith Smith.

I have been testing a lot of mark making tools on Tetrapak. Above is a little book I made myself. Below are all the tests. Most of the tools I used are in the photos. The paper is Stonehenge, ink is Akua carbon black. Not all the tests printed equally well, but it's information, not beauty that I'm looking for.

Tetrapak mark making test 2021 Judith Hoffman
Fine line applicator with Golden high flow paint. Hard to control, hard to write backwards. Take a while to dry thouroughly.

Tetrapak mark making test 2021 Judith Hoffman
PVA sprayed on with toothbrush, keep it light for a texture. Lots of small spots end up making a dark area.

Tetrapak mark making test 2021 Judith Hoffman
Liquitex clear gesso, center is the tetrapak, right is Blick white acrylic, brushed on and scribbled with brush handle end. I need to play more with the brush handle marks.

Tetrapak mark making test 2021 Judith Hoffman
Utrecht mat medium sprayed on with spray tool. Keep it light to get spots, more spots will hold more ink. Hard to control but I love the bigger spots.

Tetrapak mark making test 2021 Judith Hoffman
Left dark area is an etching tool that scratches many fine lines, the grids are pieces of screening. I couldn't find most of them - the heavy plastic one above was used, also the wire. it's twisted very fine wire. These are embossed into the tetrapak.

Tetrapak mark making test 2021 Judith Hoffman
Staples under aluminum tape on the left and above right, hammered staples on the right.
 If you try this be careful - you don't want to make permanent marks on your rollers. Extra padding is a good idea.
Tetrapak mark making test 2021 Judith Hoffman
Aluminum tape, torn for the two horizontal pieces, crumpled for vertical piece. The long horizontal line is a fold in the tetrapak.
Tetrapak mark making test 2021 Judith Hoffman
Above: screwdriver blade, Below square tubing. Press down hard.
 The screwdriver blade is notched.
Tetrapak mark making test 2021 Judith Hoffman
Left: sand paper scratches, right Wiggle Jiggle writer with scribe taped on.
 It's a kid's fun drawing tool. On Amazon.
Tetrapak mark making test 2021 Judith Hoffman
Marbling comb. On the left I tried brushing on some mat medium. I want to use these in collage. Turns out the Akua dries slowly, but is finally supposed to be waterproof.

Tetrapak mark making test 2021 Judith Hoffman
Left some kind of etching tool - makes many very fine lines. Center: fork, Right: nail set, although maybe not the one in the photo. I think it had a larger circle end.

Tetrapak mark making test 2021 Judith Hoffman
Wheels with spikes. For leather working and sewing. These are hard to ink well. A very soft toothbrush seems best.

Tetrapak mark making test 2021 Judith Hoffman
Papermate ballpoint pen, wheel with spikes.

Tetrapak mark making test 2021 Judith Hoffman
Energel 0.5 pen

Tetrapak mark making test 2021 Judith Hoffman
Left: twisted scribe, right: scalpel

Tetrapak mark making test 2021 Judith Hoffman
Circle test: Left twisted scribe. The five is cut out. Right: nut cracker pick. Easier to draw a circle. I am having trouble adjusting to the different feeling between a pen and the scribes which are very sharp and only really work when I pull them toward me.

Tetrapak mark making test 2021 Judith Hoffman
Left: Jetstream pen .23, nut pick, Right Cork handled scribe. Just as sharp as the twisted scribe but easier on the hand.

Tetrapak mark making test 2021 Judith Hoffman
Uni Jetstream pen .28, Uni Jetstream 3, .38, Pentel energel .5, Papermate 1. They all look about the same when printed. I was hoping for a finer line from the finer tips.

Tetrapak mark making test 2021 Judith Hoffman
Top: wire tool with handle, Bottom: cork handled scribe, trying light and firm pressures.

Tetrapak mark making test 2021 Judith Hoffman
Polymer clay tool with embedded nails. I made this one years ago.

Tetrapak mark making test 2021 Judith Hoffman
Polymer clay tool, point on one end, circle on the other. The circle is like a nail set tool. The point is fairly smooth. I need to test this more.

Protecting the ink from cats
My system to leave the ink on the glass plate. We have a cat, he mostly doesn't walk on the table but he might. I should put a weight on top. They claim the Akua ink doesn't dry on non-porous surfaces, so it can sit out until you use it up.


Thursday, July 08, 2021

My pasta machine can do that?


pasta machine prints Judith Hoffman
My first pasta machine prints

Above are the prints I made during the class I took from Bettina Pauly with the Jaffe Center for the Book Arts. (All images enlarge) This was a good introductory class. I was able to get familiar with all the basics and gain some confidence. I really thought I would hate printmaking, but I like any low tech approach so I gave it a try. The image on the upper left was done with a milk carton, the others are all tetrapak prints. The print on the lower right was done during the last class, I was doodling on a piece of Tetrapak. You can see the folds and a hole for the spout.

The Tetrapak is a carton made with layers of cardboard, thin foil and plastic. I get my soy milk in one. You might also have juice cartons or broth in one. They all say "Tetrapak" on the bottom. Ordinary milk cartons also work. I think you can only get five to ten prints from these flimsy cartons. Some people use Akua plates which are a fairly thin plastic, they might yield up to 20 prints.

texture tests from pasta machine printing Judith Hoffman
These are texture tests on Tetrapak.

I am so excited about the pasta machine printing I decided to sign up for another class. This one is from Sally Hirst. It's a self-paced class. Above are texture tests, made by painting various mediums and white acrylic paint on the Tetrapak. Coarse mediums hold ink and print dark, the white paint (any acrylic paint) dries glossy and repels the ink, so print white. 

Splattered textures for pasta machine printing
Two of my favorite textures made by splattering PVA and mat medium. 

These textures were made by splattering PVA and mat medium with a toothbrush and a spattering tool from Dick Blick. I can't find it at their website. It's number six in the second photo on my mark making blog post. The splattering tool was used for the top test, it made bigger splats which show better. But the smaller spray is a nice grey tone.

Pasta machine on it's side for printing
To make things easier, I took the base off my pasta machine and laid it on it's side. then clamped it to the table. The books make a horizontal bed to support the materials as they go through. 

Pasta machine with improvised bed for printing
Here's the pasta machine with the plate and whatever that part is that's underneath - a sheet of 22 gauge brass. Anything stiff but thin would work.

To make a pasta machine print you sandwich together chip board, scrap paper, your plate and paper and felt. It has to bend a little to come out of the bottom of the pasta maker. To make things easier, I took the base off my pasta machine and laid it on it's side. then clamped it to the table. The books make a horizontal bed to support the materials as they go through. There are videos online to do this, but I can't find them right now. Not all pasta machines can be easily taken apart. Mine had four screws in the bottom, taking those out released the base. This lets me use a stiffer plate to print and makes it easier to feed things through. I can also print long things easily. I am still limited to a fairly narrow opening - around 5 1/4 inches wide. My set-up from the bottom up is: 22 gauge brass. a sheet of chip board, a piece of newsprint, the plate (usually a piece of tetrapak), A piece of damp Stonehenge printmaking paper, another piece of newsprint, two pieces of wool felt. I have tried mulberry paper and Kitikata. Thinner papers of course need more newsprint layers. The newsprint protects the felt and chip board from getting inky. Actually the lower piece gets interesting ink marks on it (you can see them in the photo above), I may switch to slightly nicer paper for that so I can use it for collage.

mucky bottom after pasta machine print
The back of two tetrapak plates and their impressions on scrap paper. The box creases and the label printed nicely

Some people print with a Sizzix Big Shot Plus or an Xcut Xpress die cutting machines. I am seriously thinking I may get a Sizzix. Apparently the Xcut machines are hard to find. The advantage would be a wider bed and a taller space to put the plate through. 

Summer is half over here and I keep meaning to set up a table outside to make paste papers. There are so many things I would like to do. I need a schedule with deadlines. I hope you are all well, some people here are not wearing masks, but I am still masking up indoors with strangers.
Monday, June 28, 2021

Pasta maker and tetrapak printing


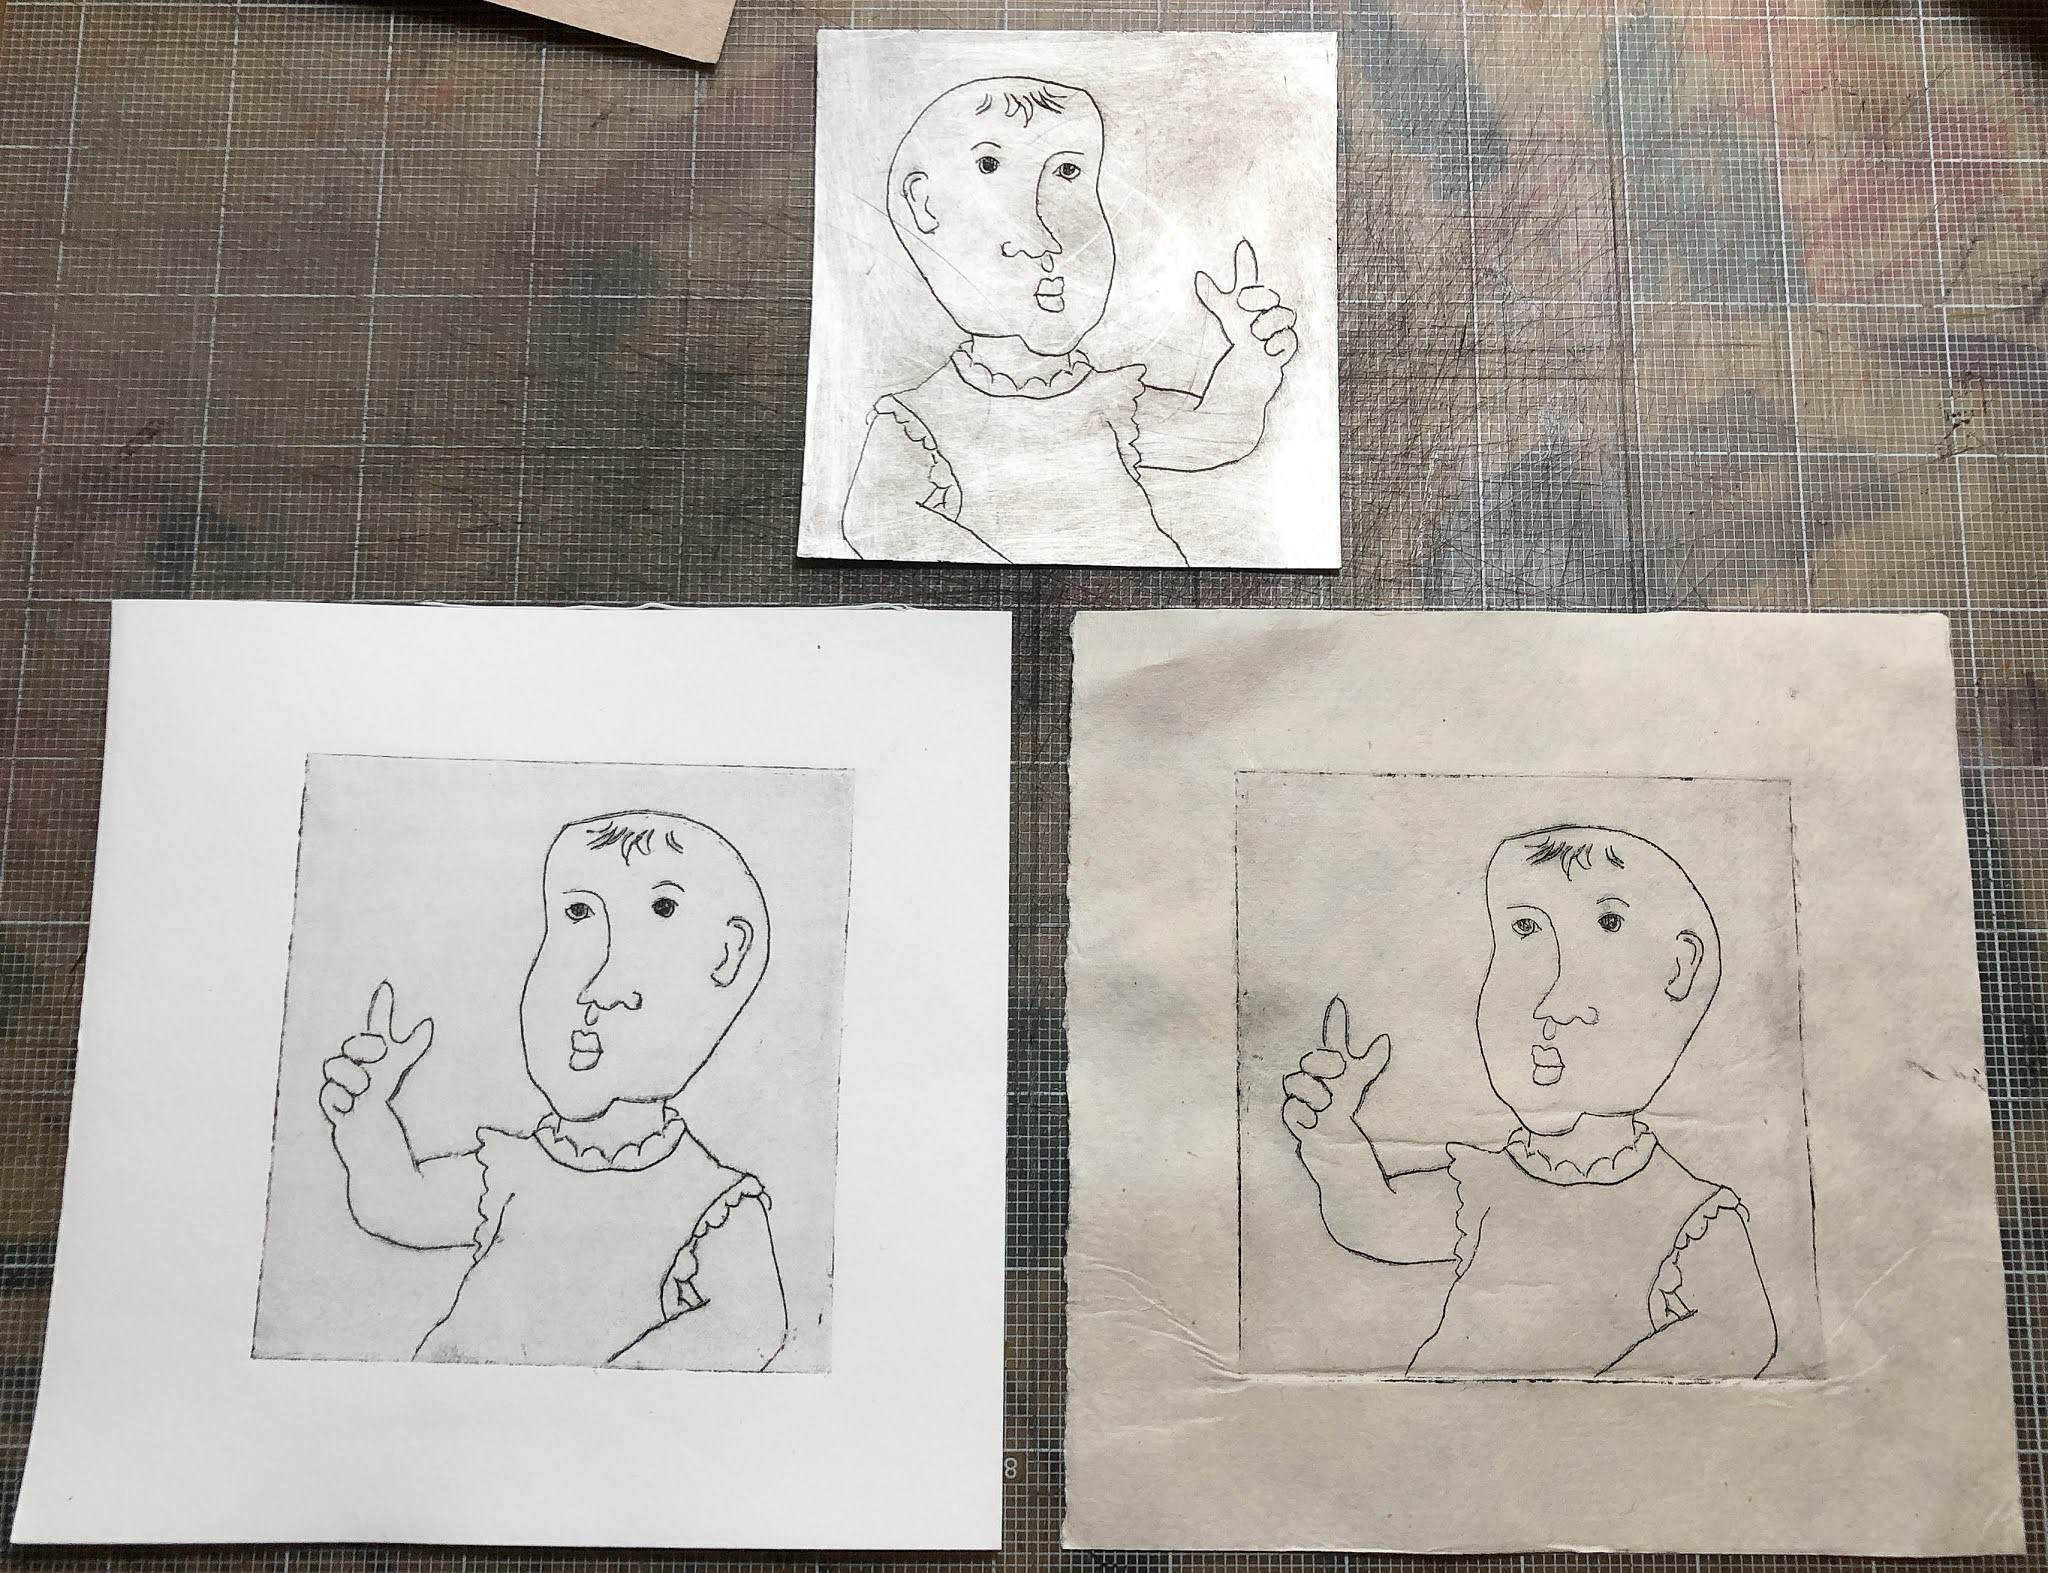
tetrapak plate, two prints on Stonehenge and Kitikata papers

Well, this is exciting. I have been playing with the pasta maker printing and I think it's working. It's very hot so my ink gets thick and hard to wipe in less than a minute. I'm using Blick waterproof block printing ink. However, I think the light print from the last post was due to not rubbing the ink into the incised lines. I like almost everything about these prints. The Kitikata works nicely, thanks to Aine Scannell for that suggestion. I need to learn to keep my hands clean, but progress is being made. And I realized the Tetra pak plates are so easy to come by, I can draw blind contours on them and choose the one I want to add hatching and details to. 

I guess people in hotter areas would not be impressed by our heat, but today it's supposed to be 113 degrees. Right now, 6 pm, it's 108 here. I don't think we will get much hotter, but that's enough. Tomorrow it will be much cooler. 

Friday, June 25, 2021

Another day, another workshop

Intaglio test print judith hoffman
Test print, Tetra Pak plate

 I resolved weeks ago to not take anymore workshops. It takes time to experiment with new techniques and for things to sink in. Then I saw a post about a pasta machine printing workshop at the Jaffe  Center for the Book Arts.  I signed up, of course. It's something I had been curious about. Right now we seem to have a bounty of online workshops. I hope they never end, but they might, when the virus is under control. The first class was instructions and demos. We have a week to practice, then we meet again next Tuesday. The instructions were clear and the examples Bettina showed us were inspiring. 

Above is my third or fourth print, the plate is a piece of Tetra Pak. I traced a recent drawing and transferred it to the plate. I need to go over some lines, they should be deeper. Or maybe I didn't ink the plate correctly? The beauty of Tetra Pak plates is that they are free. I can sit and draw blind contours on them without tracing or planning and then work more on the ones I like.

Intaglio test print judith hoffman
Milk carton and Tetra Pak plates, first print and ghost.

Above are my first prints - they came out amazingly well. The ink seemed almost too wet and my ghost prints are very faint. But I am pleased with the first prints. That was yesterday. I thought this would be easy. Today the Tetra Pak plate didn't print so well, and the same ink was thick on the plate. When I tried to wipe it off it didn't want to move. I ended up taking a slightly damp piece of tissue paper and wiping most of the ink away. Then I had to use the ball of my thumb to smooth out the streaky marks. This will take some practice.

And of course there is another workshop on the horizon. It's Seeded Notebook with Henrik Drescher. I have admired his drawing style for years and years. A chance to watch him work in a sketchbook is very alluring. Check out the short video, it's a simple idea. But the second half of the class is watching Henrik work. And it will be a way to use all the cast-off prints I am making right now.

I'm looking for suggestions for a thin paper that would be good for printmaking, but also would be good for collage. Any ideas?